How To Write A Blog Post In 7 Steps: The Template, Format And Length That Get Read
Nicolas ColeNovember 16, 2026
How to write a blog post in 7 steps, from a blank page to published. Get a blog post template to copy, a format readers skim and the right length.
The first thing I ever wrote online that people read was an answer to someone else's question.
It was 2014, and I'd challenged myself to write one answer on Quora every day for a full year. Every question on the site was a writing prompt. I didn't have a blog, a logo or a plan. I just had a question, a reader who wanted the answer, and a daily deadline.
That habit made me the most-read writer on all of Quora that year, with millions of views on my answers. Then Inc. Magazine republished so many of them that they offered me my own column, and I spent years writing a daily Inc. column on top of everything else. Since then I've written over 5,000 articles online, and the method behind every one is the same 7 steps.
So here's how to write a blog post: pick one question, outline it with a blog post template, format it for skimmers, write the draft fast, size it, edit it and publish it where readers already are. At the end there's the full template in one block to copy. (New to writing? Start with 15 writing tips for beginners, and once you've written a few posts, find your tone of voice so they sound like you. When you're ready to write, open the Typeshare editor. You do the writing; the robots do the rest.)
Step #1: Pick One Question Before Writing A Blog Post
What question is your reader typing into Google right before they find you?
That's the only question that matters when you're writing a blog post. Most new bloggers start from what they want to say: their opinions, their week, their "thoughts on productivity." Readers search for answers, and a post that answers one specific question beats one that wanders through ten.
This is what Quora taught me. A question comes with a reader already attached. Somebody asked it, which means somebody wants the answer, and that turns the blank page into a job you can finish.
Before you write a word, ask yourself these 4 questions:
- Who is this for? Name one reader: "first-time managers," not "people."
- What are they asking? Write their question in their words, the way they'd type it.
- What do they want to walk away with? A decision, a skill, a list, a fix.
- Why should they hear it from you? A story, a number or a mistake only you have.
If you can't answer all 4, you don't have a blog post yet. You have a topic.
Here's the difference. "Productivity" is a topic. "How do I stop checking email every 10 minutes when I work from home?" is a question, and the post almost writes itself: the reader, the problem and the outcome are all in the sentence. The more specific the question, the easier the writing and the more likely the post finds the person asking it.
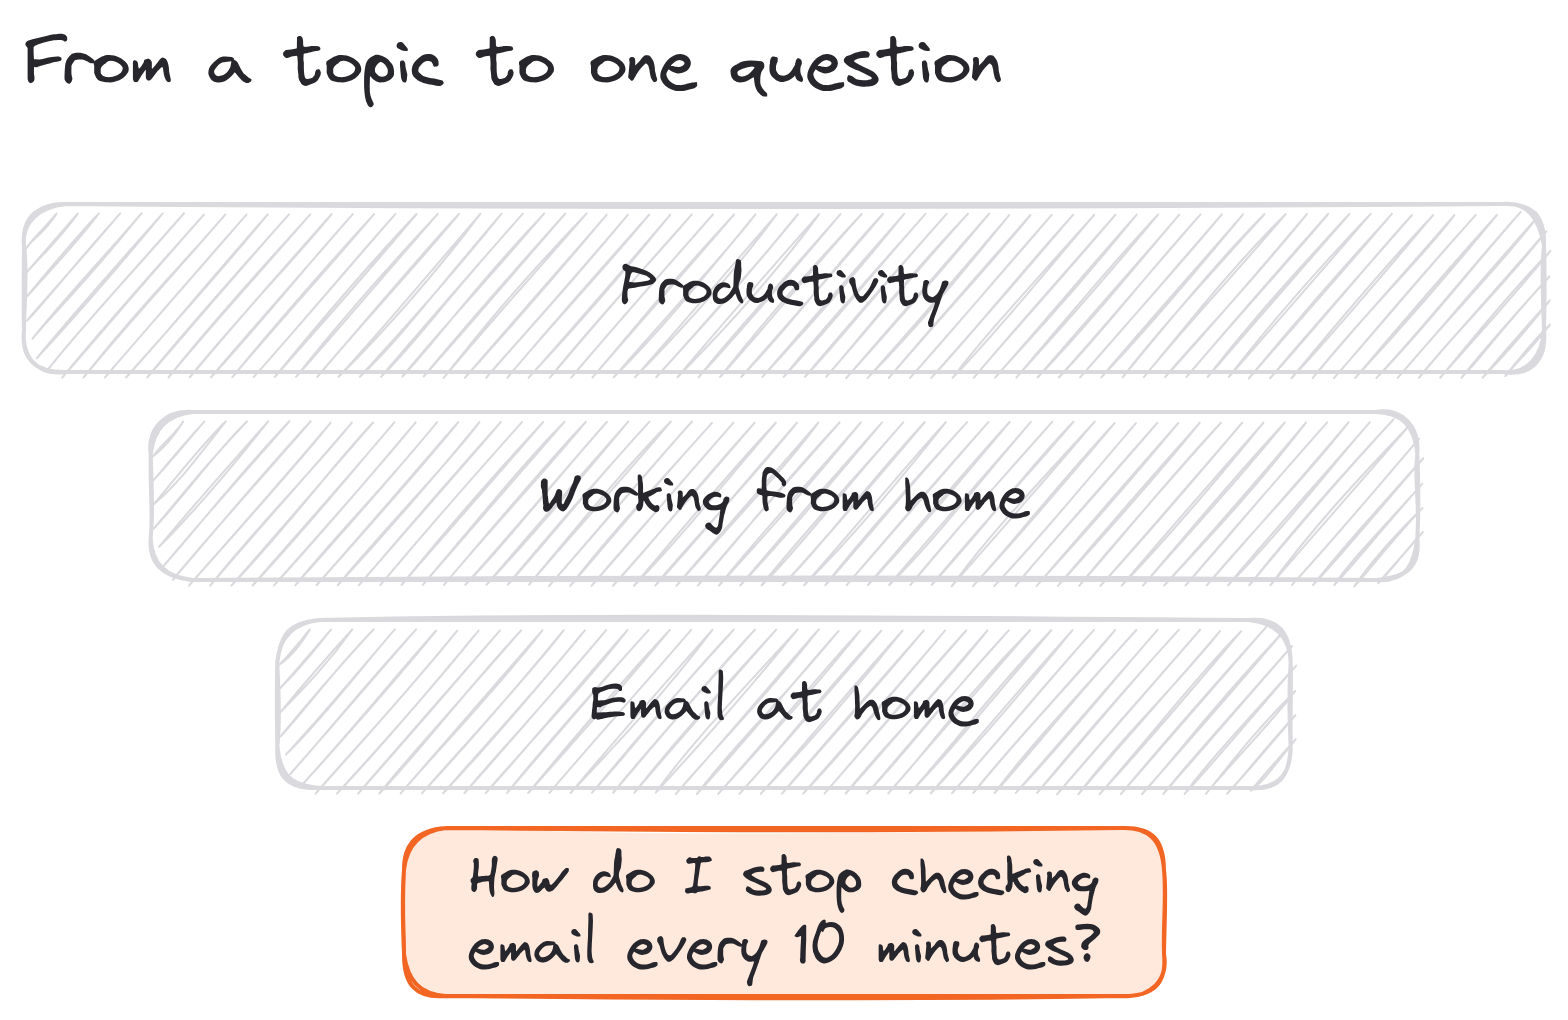
Pick one question before writing a blog post, and the rest of the steps get easier.
Step #2: Outline It With A Blog Post Template
The blank page is the hardest part of writing, and a blog post template takes it away.
One of my 7 rules for digital writers is "prep with templates." People struggle to start writing because they're afraid of the blank page. So don't start from one. Start from a structure that has already worked, and fill it in. The thinking happens in the outline, so by the time you write sentences, you're only cleaning up notes.
Here's how to outline any post with a template:
- Write the headline first. It's the promise. If it says "7 Steps," the post has 7 steps. (More on this in what a headline is and how to write one.)
- List your main points. These become your subheads, and they should deliver the headline's promise in order.
- Pick how you'll expand each point. Tips, steps, examples, mistakes, reasons, stories. Choose whichever is most useful for that point.
- Add 2 or 3 notes under each point. Short notes to yourself, not sentences.
- Mark where the proof goes. The story, number or example that makes each point believable.
Most blog posts fit one of 4 blog post templates:
- The how-to: "How To [Get Result] In [Number] Steps." Each subhead is a step.
- The list: "[Number] [Things] For [Reader] Who Want [Result]." Each subhead is one item.
- The mistakes and lessons: "[Number] Mistakes I Made [Doing Thing] (And What I'd Do Instead)." Each subhead is a mistake, with the lesson inside it.
- The explainer: "What Is [Thing]? [The Meaning, Examples And How To Use It]." Each subhead answers one question about it.
This post is the first one. The headline promised 7 steps, so there are 7 subheads that start with "Step #." Once you see the pattern, you'll notice it in most of the posts you finish reading.
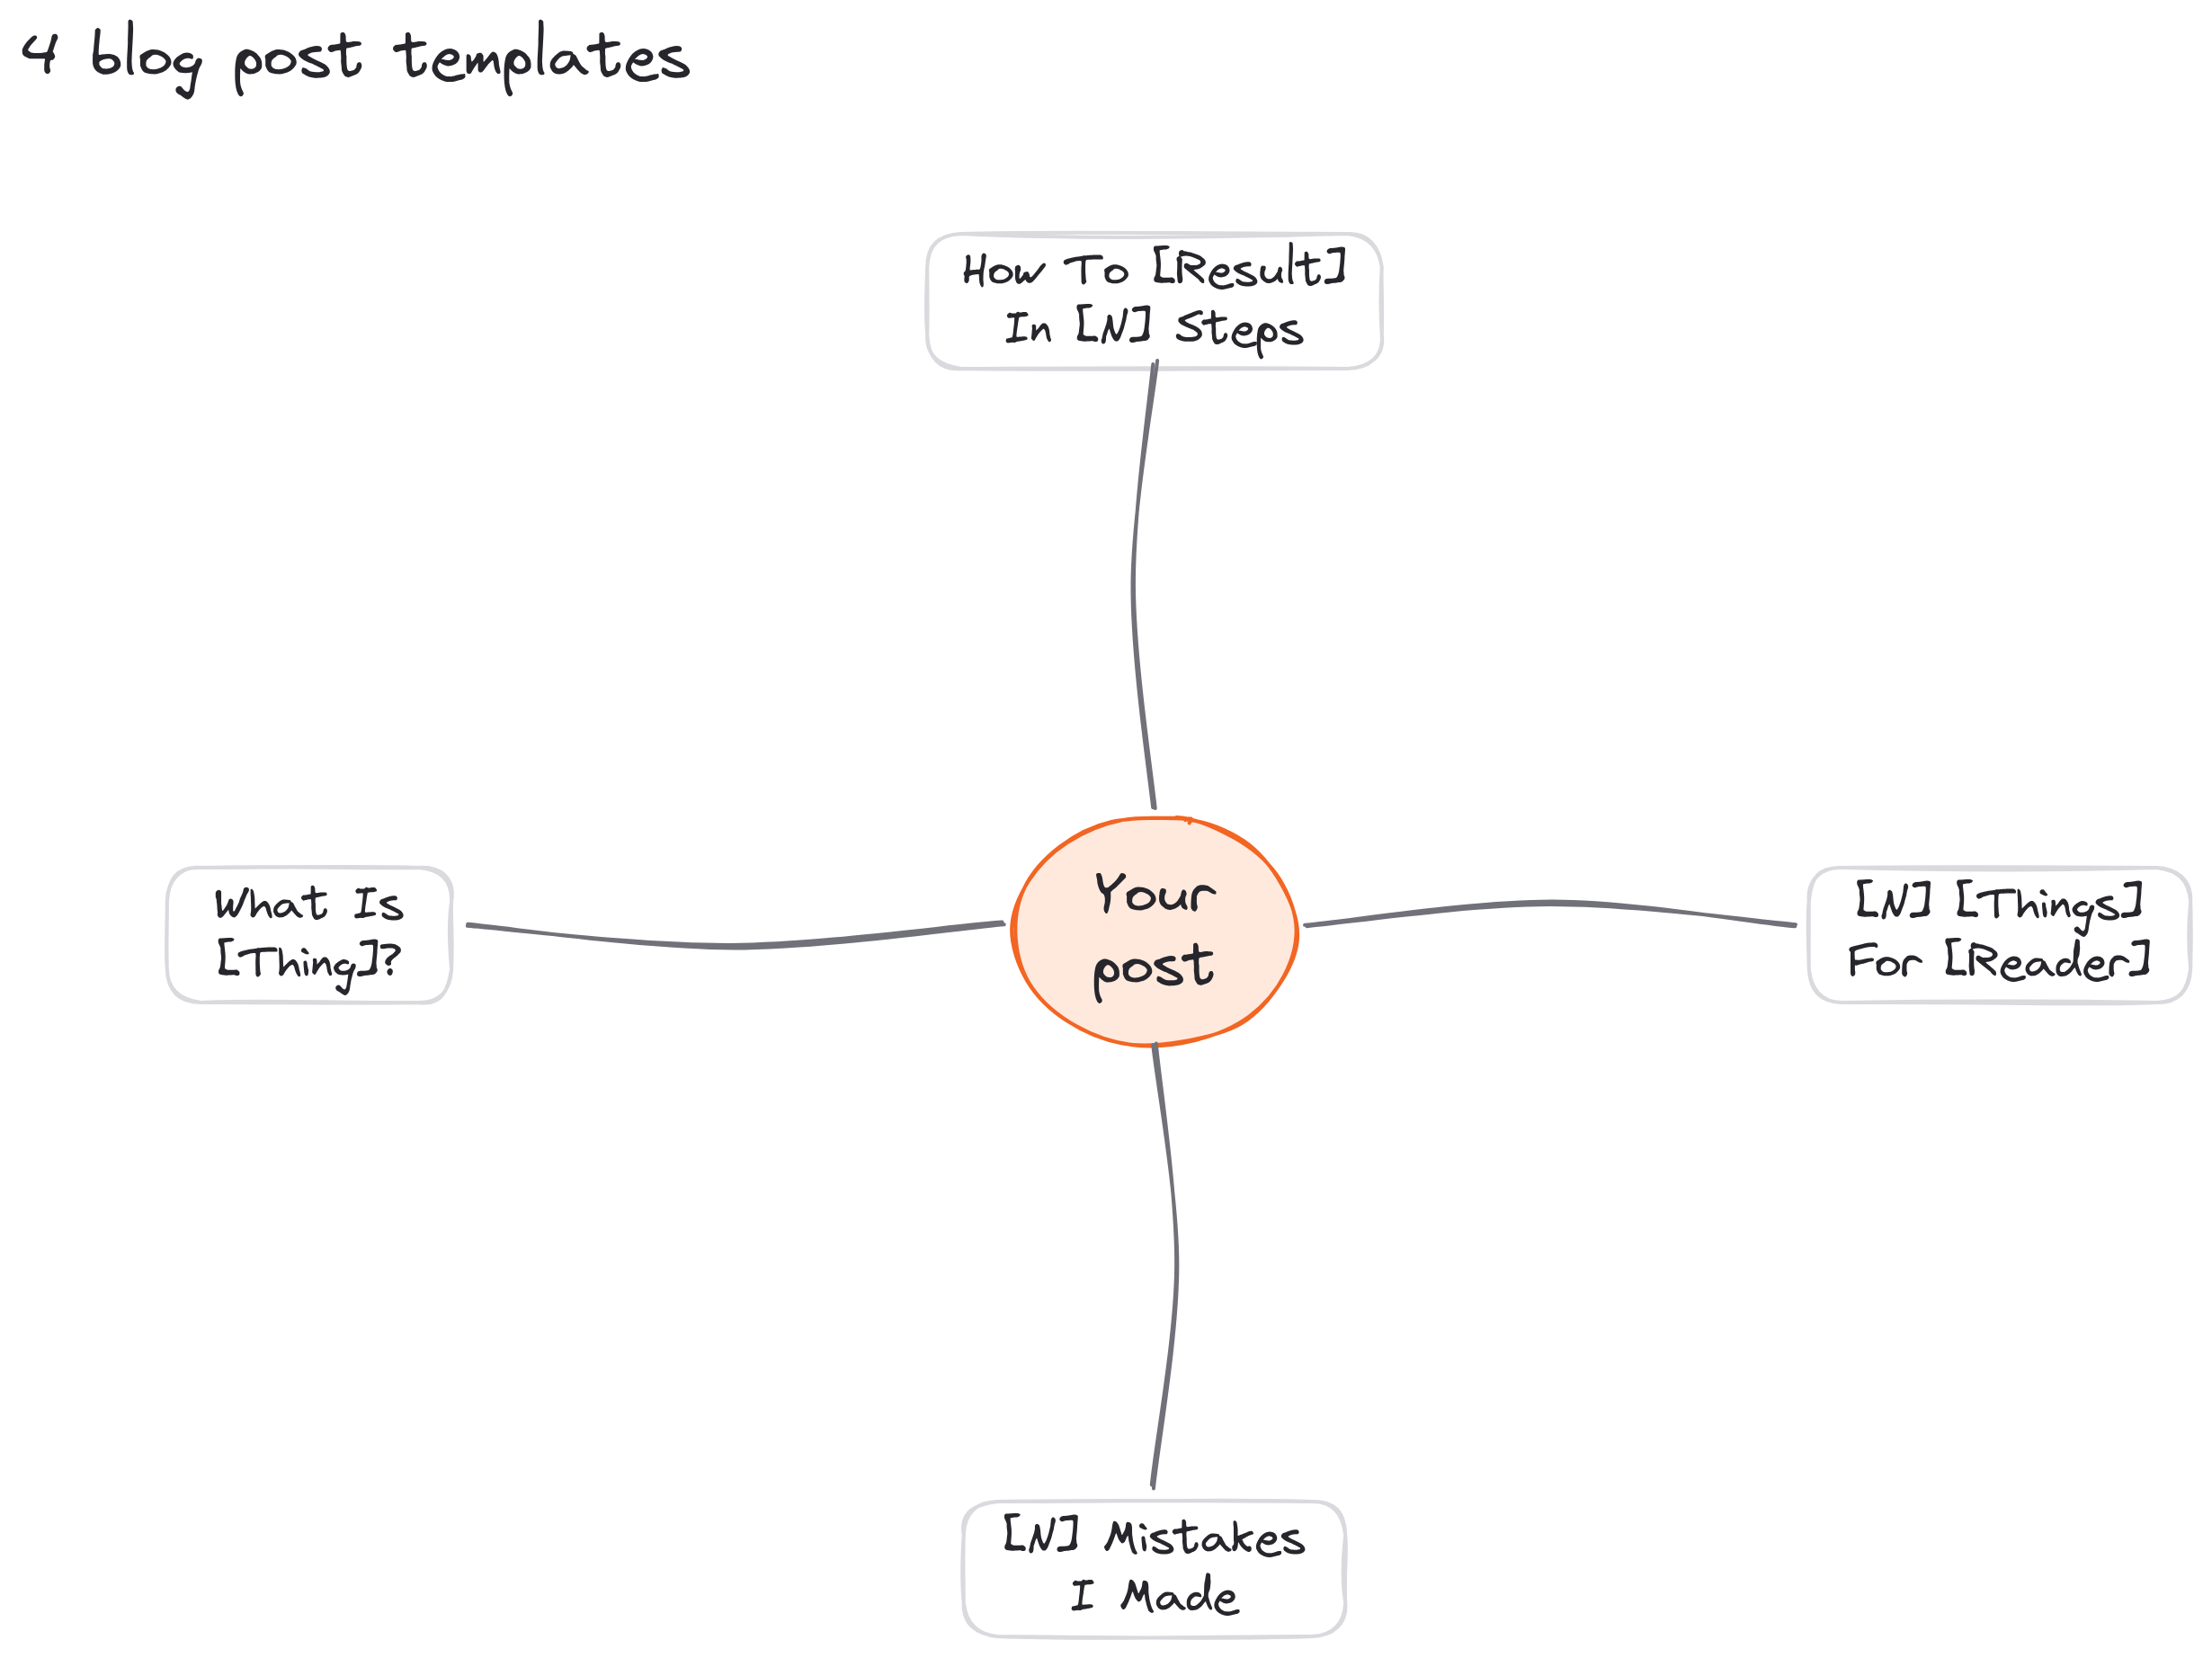
Outline every post with a blog post template, and you'll never stare at a blank page again.
Step #3: Use A Blog Post Format Readers Can Skim
Nobody reads a blog post the way you wrote it: top to bottom, word by word.
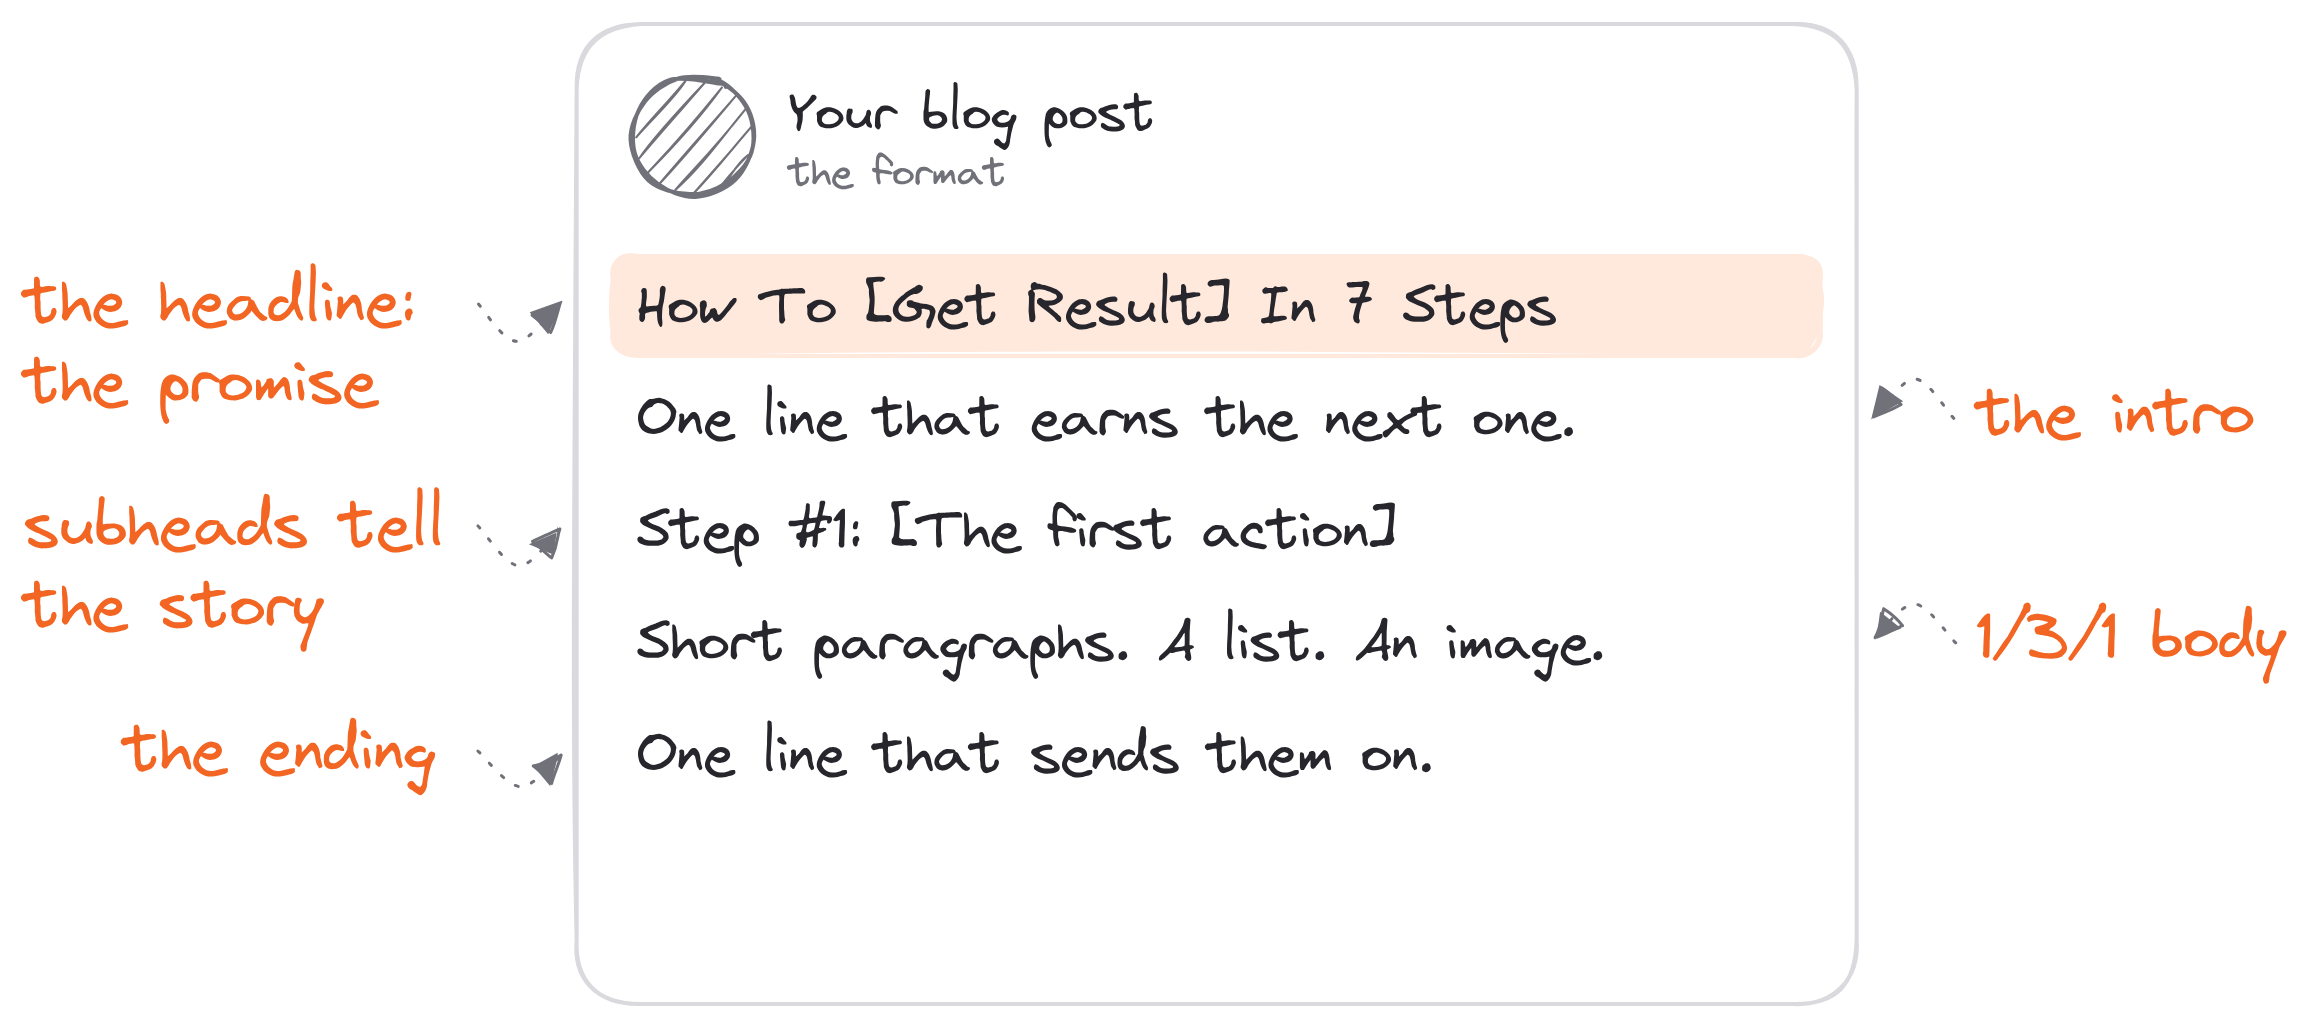
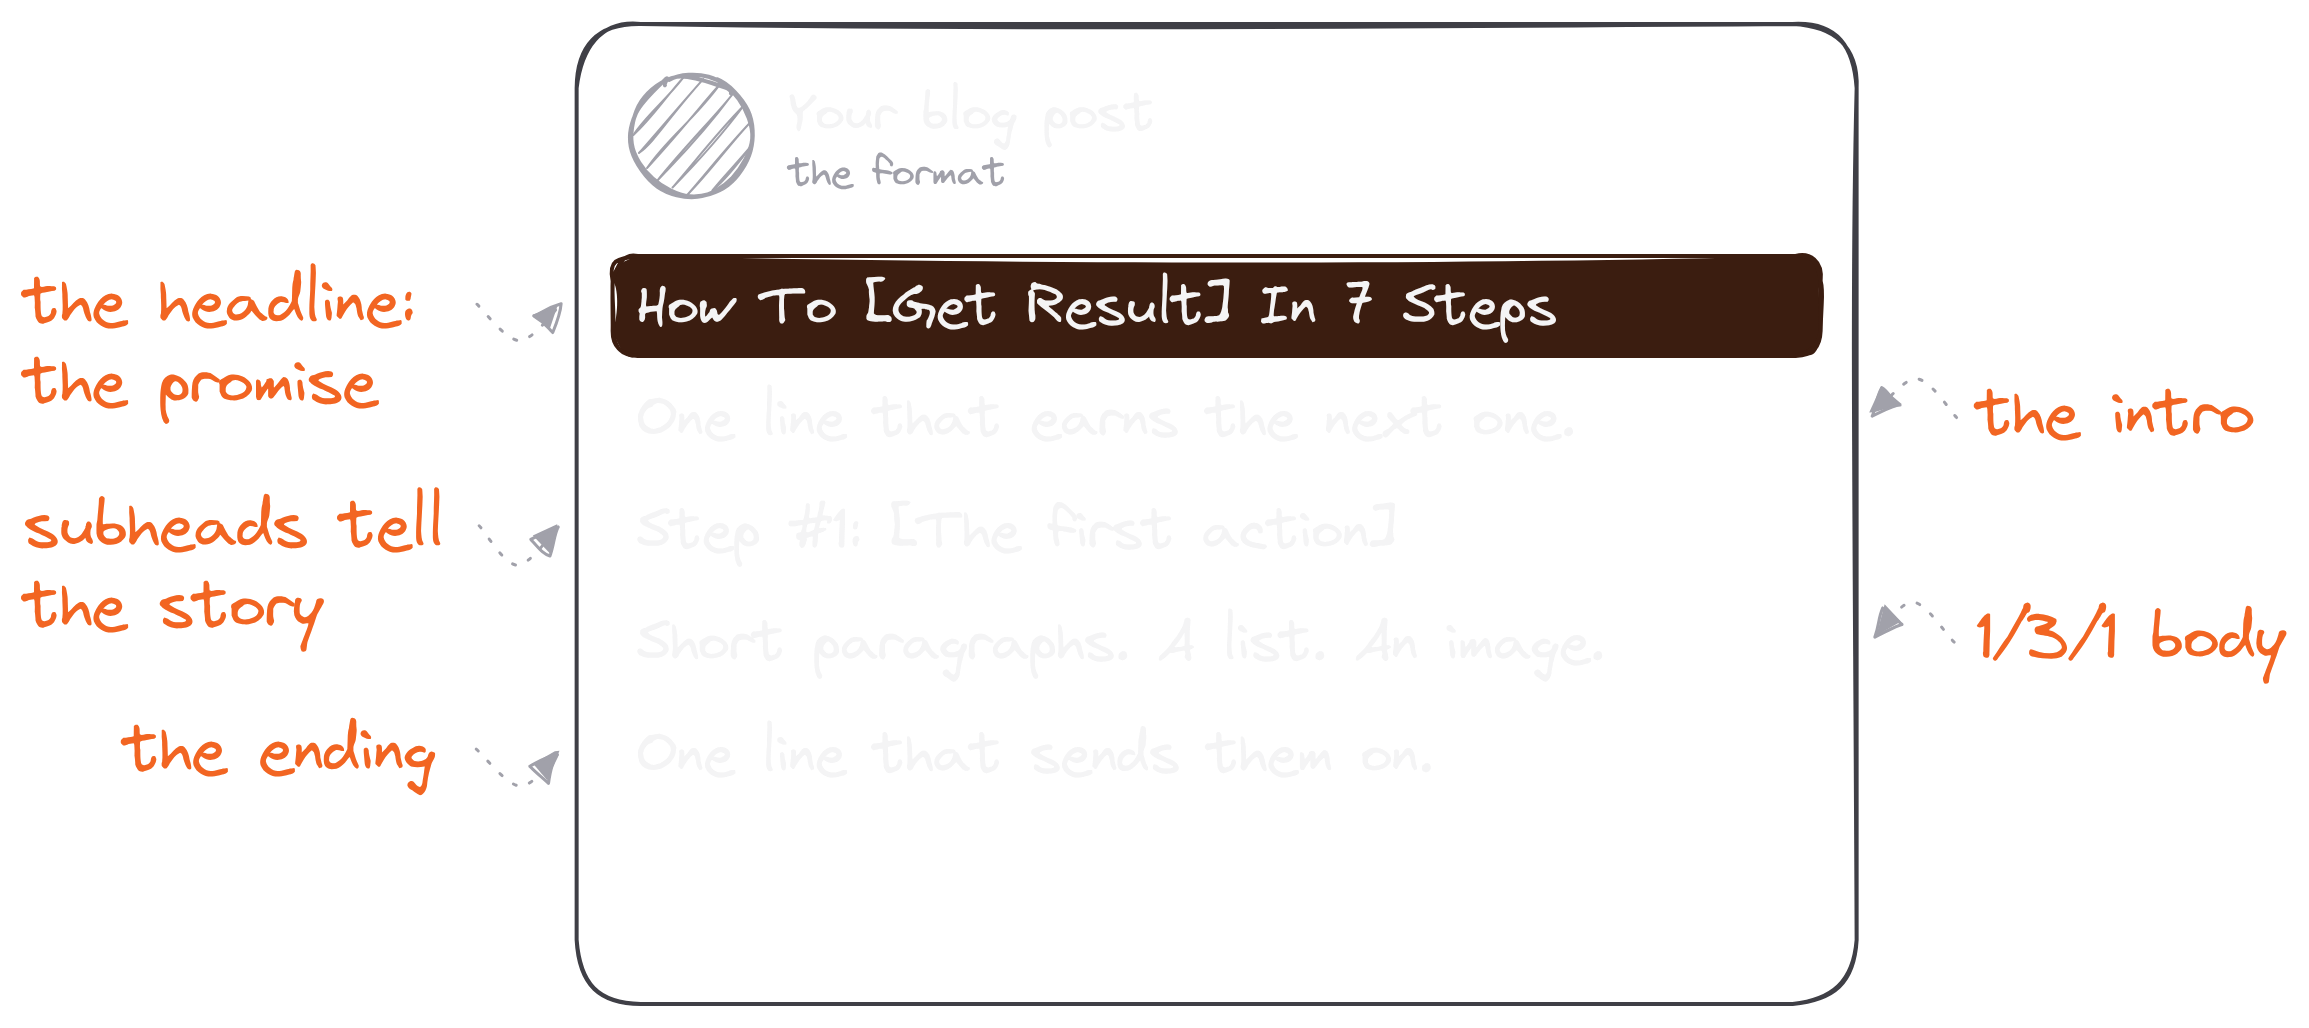
Readers skim first. They read the headline, glance at the subheads, look at the images and decide whether the post is worth their time. Only then do they go back and read. The right blog post format is the one that passes that first skim, and it has 5 parts:
- The headline. The promise, with your main search term in it.
- The intro. A first sentence whose only job is to get the reader to read the second one, then why they should trust you, then what they'll get. Three short paragraphs at most. (Here's how to write a hook for that first line.)
- The subheads. In my Digital Writing Laws, I put it this way: your subheads should tell a story. A reader who skims only the subheads should still get the whole answer.
- The body. Short paragraphs, lists where a list fits and an image in every section.
- The ending. One line that sends them somewhere: your next post, your newsletter, your product.
Inside each section, the format that keeps people reading is what we call the 1/3/1 rhythm. One sentence to open. Three sentences that explain or build on it. One sentence that wraps it up. Then repeat it all the way down the page.
It works because it's like a song. The reader gets an easy way in, enough detail and a line that lands, and they keep going without noticing why.
That's how to format a blog post: build it for the skim, then reward the read.
Step #4: Write The Draft Without Stopping To Fix It
Most writers stall at this step for one reason.
They write and edit at the same time. They type a sentence, delete it, rewrite it, check a fact, change the headline and go get coffee. Two hours later they have one paragraph. Writing and editing use different parts of your brain, and switching between them is what makes blog post writing feel so slow.
Here are the 5 mistakes that slow down a first draft most:
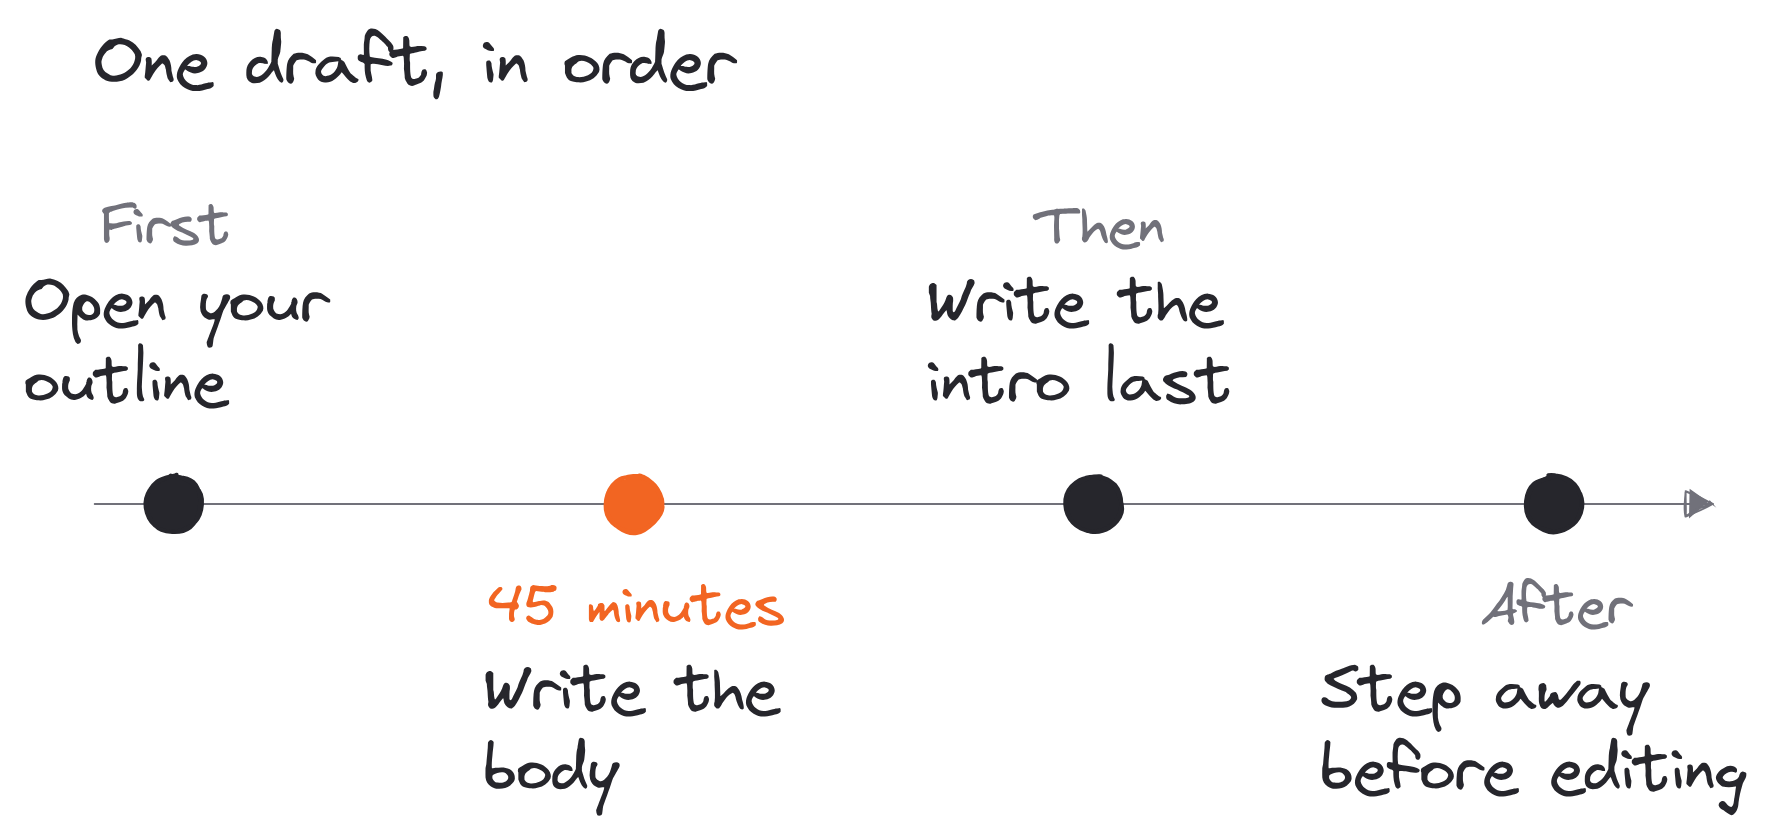
- Writing the intro first. The intro introduces something that doesn't exist yet. Write the body, then come back.
- Editing as you go. Every fix breaks your flow. Get it all down, then fix it.
- Researching mid-sentence. Leave a note like [CHECK THIS] and keep going.
- Writing in a document with no outline. Without Step #2, you're thinking and writing at the same time.
- Waiting until you feel ready. You won't. Start before you're ready, and the draft teaches you what the post is about.
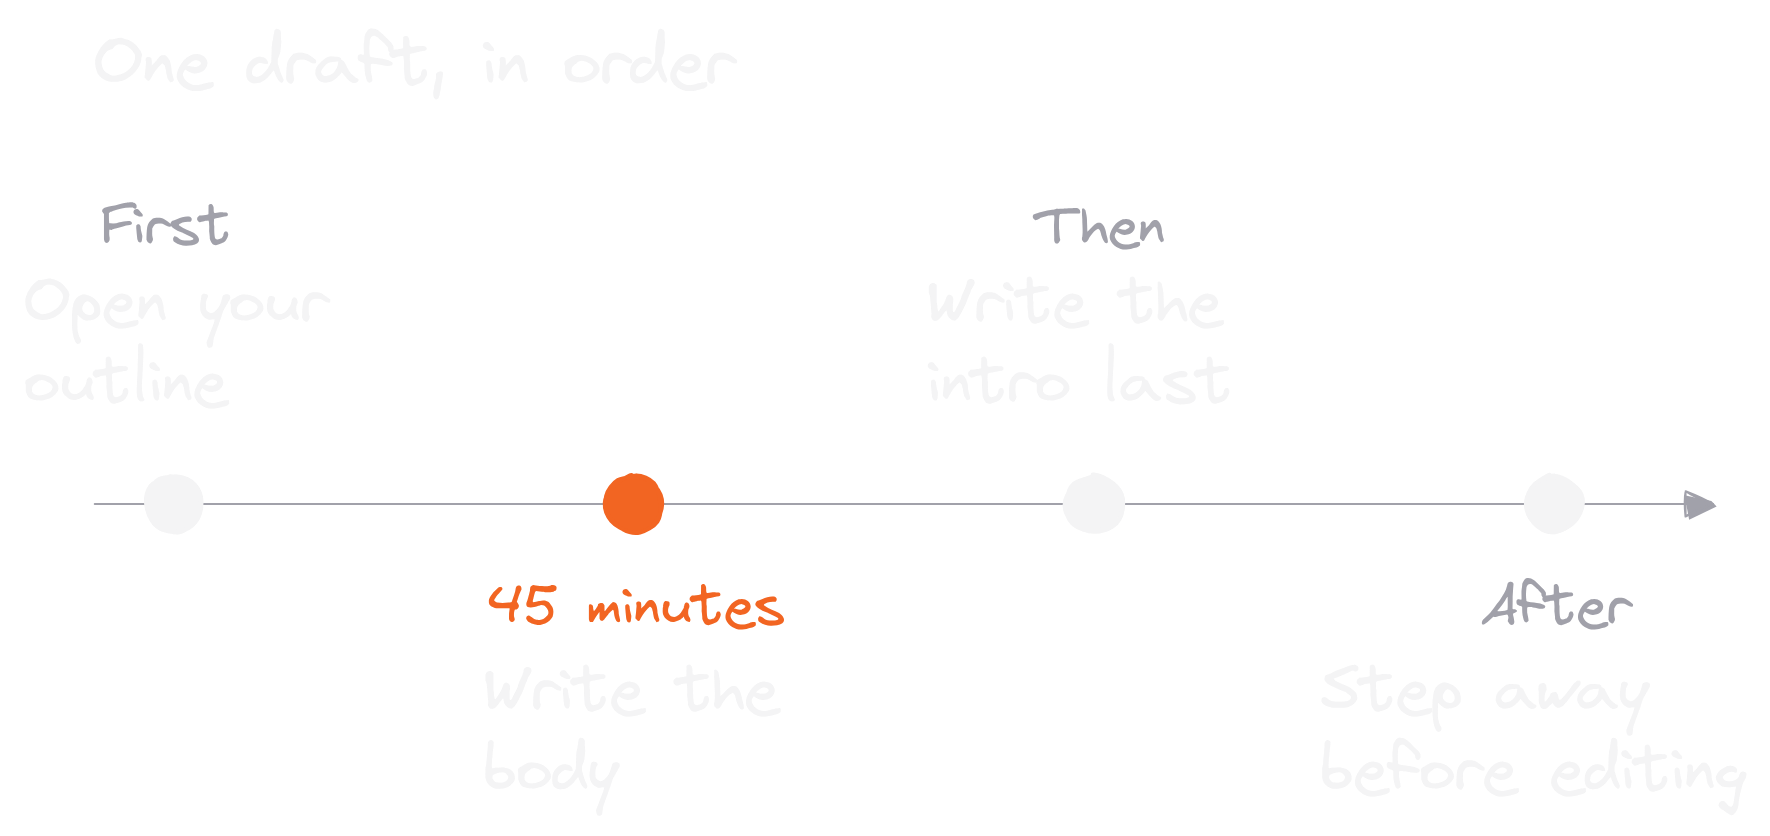
The fix for all 5 is the same. Open your outline, set a timer for 45 minutes and write each section as if you were explaining it out loud to a friend. Use your own words. If a sentence comes out clumsy, keep moving: you're shaping the clay, not firing it.
This is also where a template pays off a second time. Each section already has its point and its notes, so how to write a blog post becomes a question of filling in boxes one at a time. You'll finish the first draft faster than you think.
Write the draft without stopping to fix it, and you'll have something real to edit.
Step #5: Decide How Long Your Blog Post Should Be
Here's a controversial opinion: word count is a poor measure of value.
That's one of the best pieces of writing advice I've ever received, and I struggled with it for years. Readers care whether you answered their question. When I ran my ghostwriting agency, clients used to ask if they'd get charged extra when a piece went over our 800-word limit. The answer was no, because the goal was to do justice to the piece.
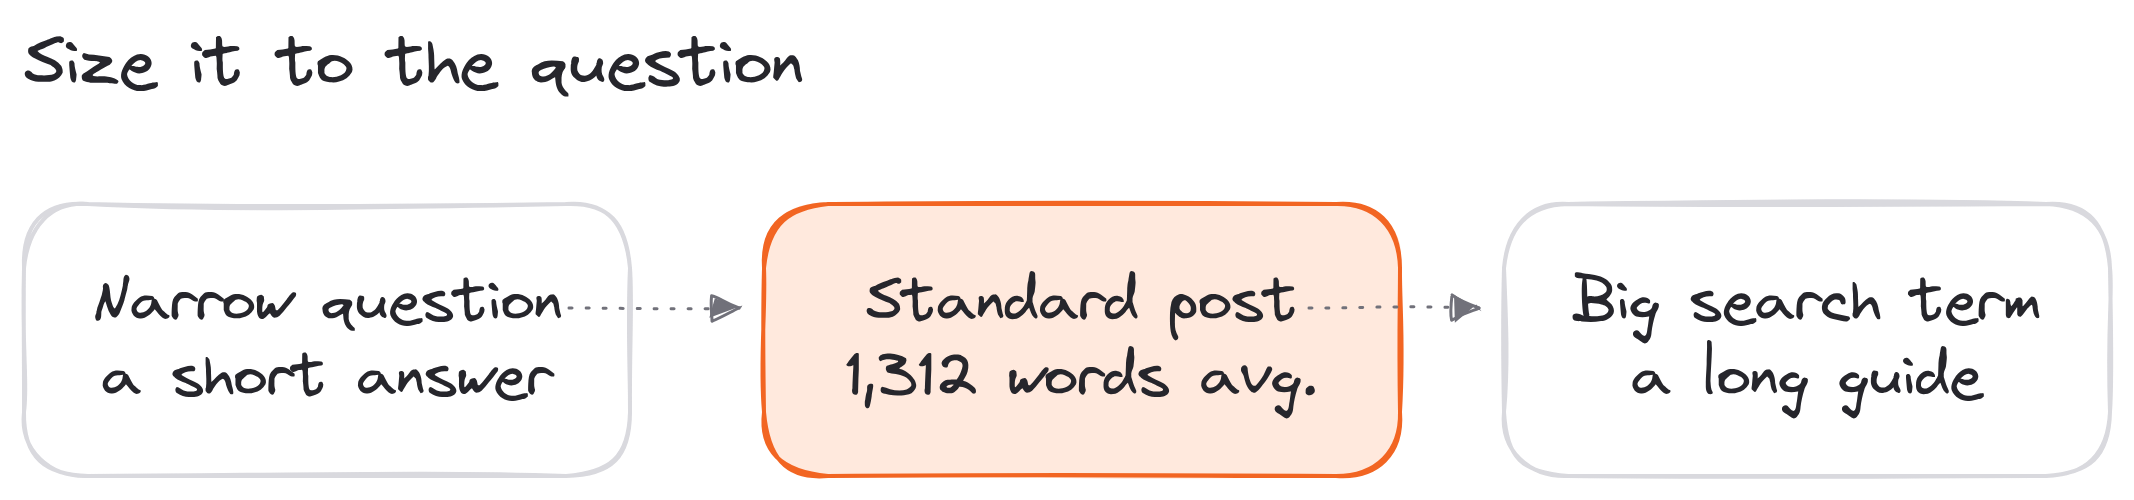
So how long should a blog post be? As long as it takes to answer the question, and not a word longer. That said, you're not writing in a vacuum, and 3 things should shape your blog post length:
- The question. "How do I boil an egg?" needs 300 words. "How do I start a business?" needs 3,000.
- What already ranks. Search your main term and look at the top results. If they're all 2,000-word guides, a 500-word post won't beat them.
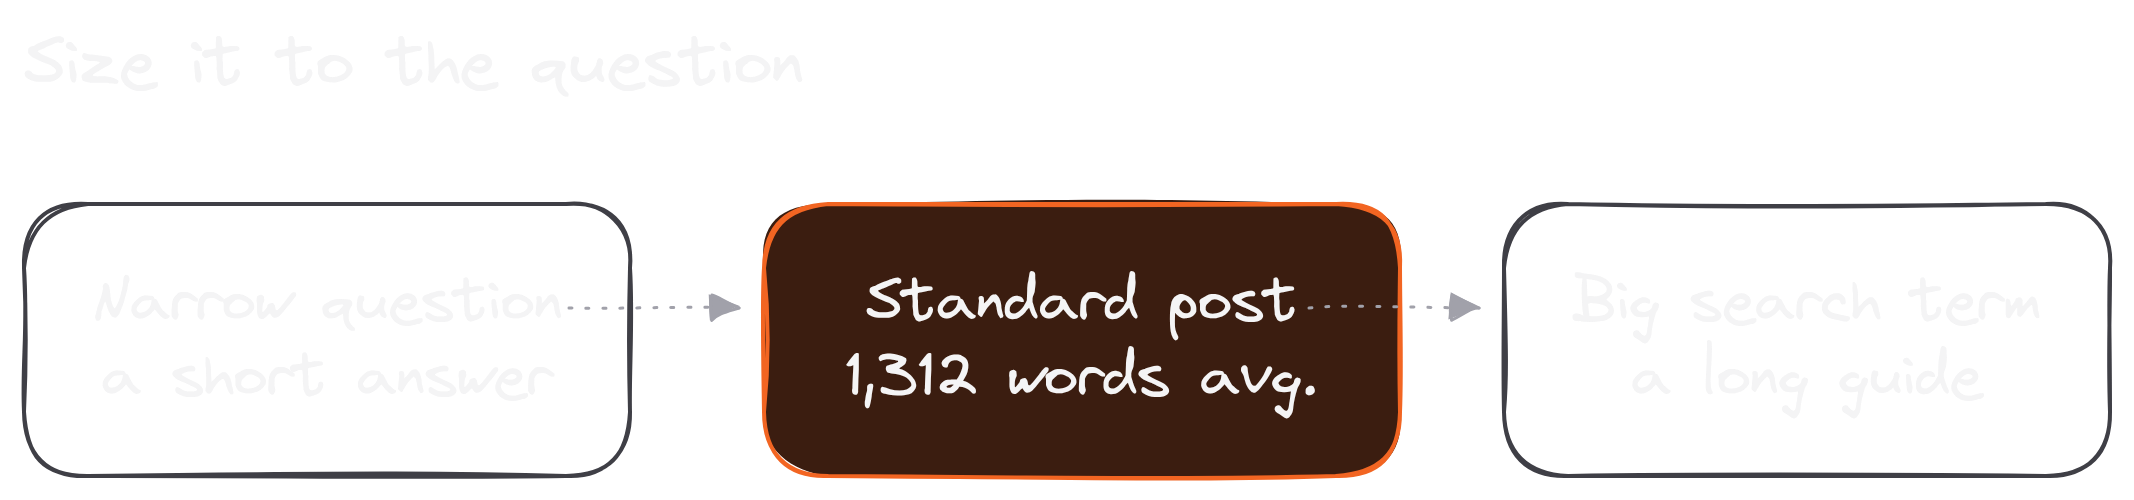
- What other bloggers write. Orbit Media's 2026 survey of bloggers found the average blog post is 1,312 words.
Use that average as a reference, not a target. A post that answers a narrow question can be short and still be the best result. A guide that tries to be the complete answer to a big search term will usually run long, because it has more to cover.
If you can't say it in 8 words, you won't be able to say it in 800. Write the smallest version first, then add what the reader needs.
Decide how long your blog post should be by the question it answers, and the word count takes care of itself.
Step #6: Edit With These Blog Writing Tips
Your first draft is for you, and your second draft is for the reader.
Step away from the draft for at least an hour (a night is better), then come back and read it as if a stranger wrote it. You'll see things you couldn't see while writing: the paragraph that repeats the one above it, the sentence that runs 4 lines, the point you promised in the headline and never delivered.
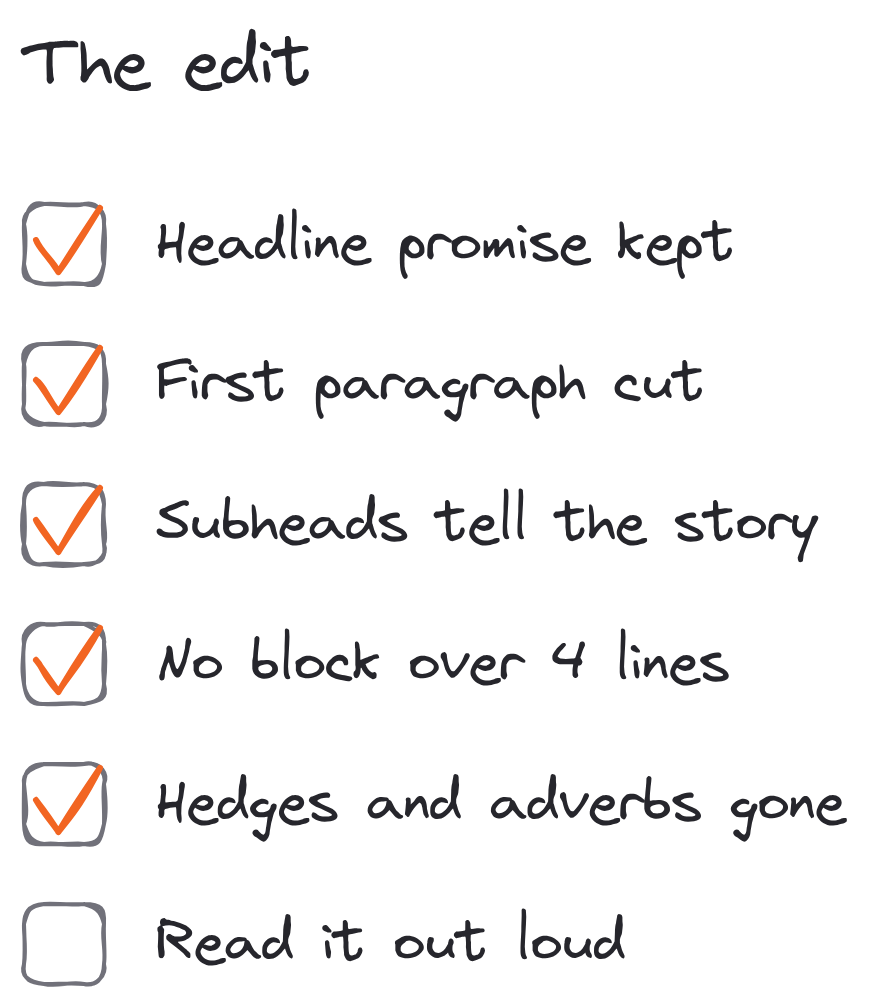
Here are the 7 blog writing tips I run through on every edit:
- Read the headline, then the last line. Did the post keep the headline's promise? If not, change one of them.
- Cut the first paragraph. Most drafts warm up before they start. Your real opening is often the second paragraph.
- Check every subhead. Skim them alone. Do they tell the whole story?
- Break up anything longer than 4 lines. Use the 1/3/1 rhythm, or turn it into a list.
- Cut the hedges and the adverbs. "Really," "very," "just" and "I think" make you sound unsure.
- Swap every vague word for a specific one. "A lot of people" becomes the number you actually have.
- Read it out loud. Wherever you stumble, the reader will too.
These blog content writing tips work for any length. And if you write with AI, go one step further: check the draft for the phrases that make readers scroll past, using our list of signs of AI writing.
Edit with these blog writing tips, and your post goes from finished to worth reading.
Step #7: Publish Your Blog Post Where Readers Already Are
My first Immutable Law of Online Writing is "don't start a blog," and I still believe it.
Here's what happens to most new bloggers. They buy a domain, spend weeks (or thousands of dollars) designing their site, get a logo made and publish their first post. Then nobody reads it, because nobody knows the blog exists. To find readers, they post links on social platforms, and the platforms don't like sending their users away. Those links get little reach.
So write where readers already are. I call it a Social Blog: your posts on X and LinkedIn, your Substack, your answers on Quora. Each of those comes with readers already on it, plus 3 benefits a new blog doesn't have:
- Built-in distribution. The platform shows your post to people who've never heard of you.
- Fast feedback. You find out in a day which ideas land.
- A path to subscribers. On a newsletter platform like Substack, readers can subscribe with one click. (Here's what Substack is and how it works.)
Keep a website if you want one. Publish where the readers are first, and point them home once they like your work. Turn one blog post into a newsletter issue, a LinkedIn post and an X thread, and the same hour of writing finds three different audiences. If you're not sure what to write each week, start with these newsletter ideas.
Publish your blog post where readers already are, and you'll know in a week whether it worked.
The Blog Post Layout Template (Copy This)
Here's the whole blog post layout template in one block.
Copy it into a new draft, replace the brackets and delete the notes. It's the same structure as the 7 steps above, in the order you'll write it:
``` HEADLINE: How To [Get Result] In [Number] Steps (Your main search term, word for word. Promise one clear outcome.)
INTRO [One short line that gets them to read the next one.] [Why they should trust you: a number, a story or a result.] [What they'll get from this post, in one sentence.]
SUBHEAD 1: Step #1: [First action] [Opening line.] [3 to 5 sentences that explain it, with one example.] [Image or screenshot.] [One line that closes the step.]
SUBHEAD 2: Step #2: [Second action] (Same shape. Use a list if the step has parts.)
SUBHEAD 3 TO 7: [Repeat]
ENDING [One line that sends them to the next thing: a post, a newsletter, a product.] ```
Every template blog post you've read has some version of this underneath. Once you've used it a few times, you'll stop needing the brackets.
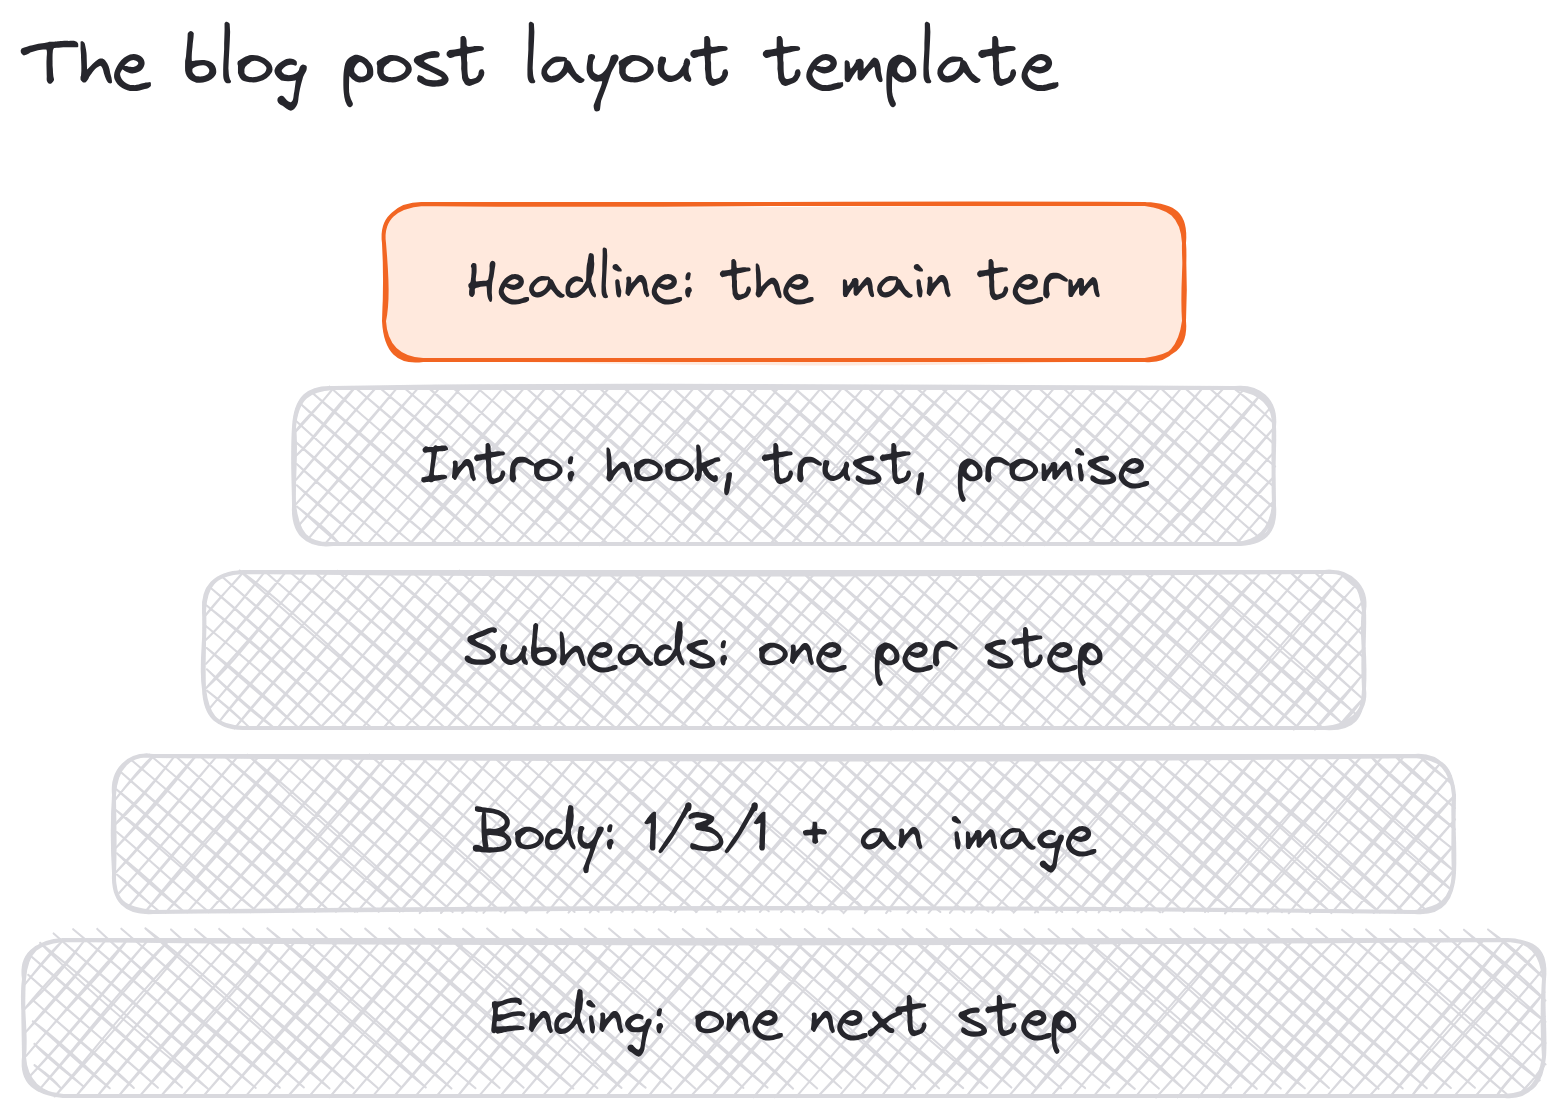
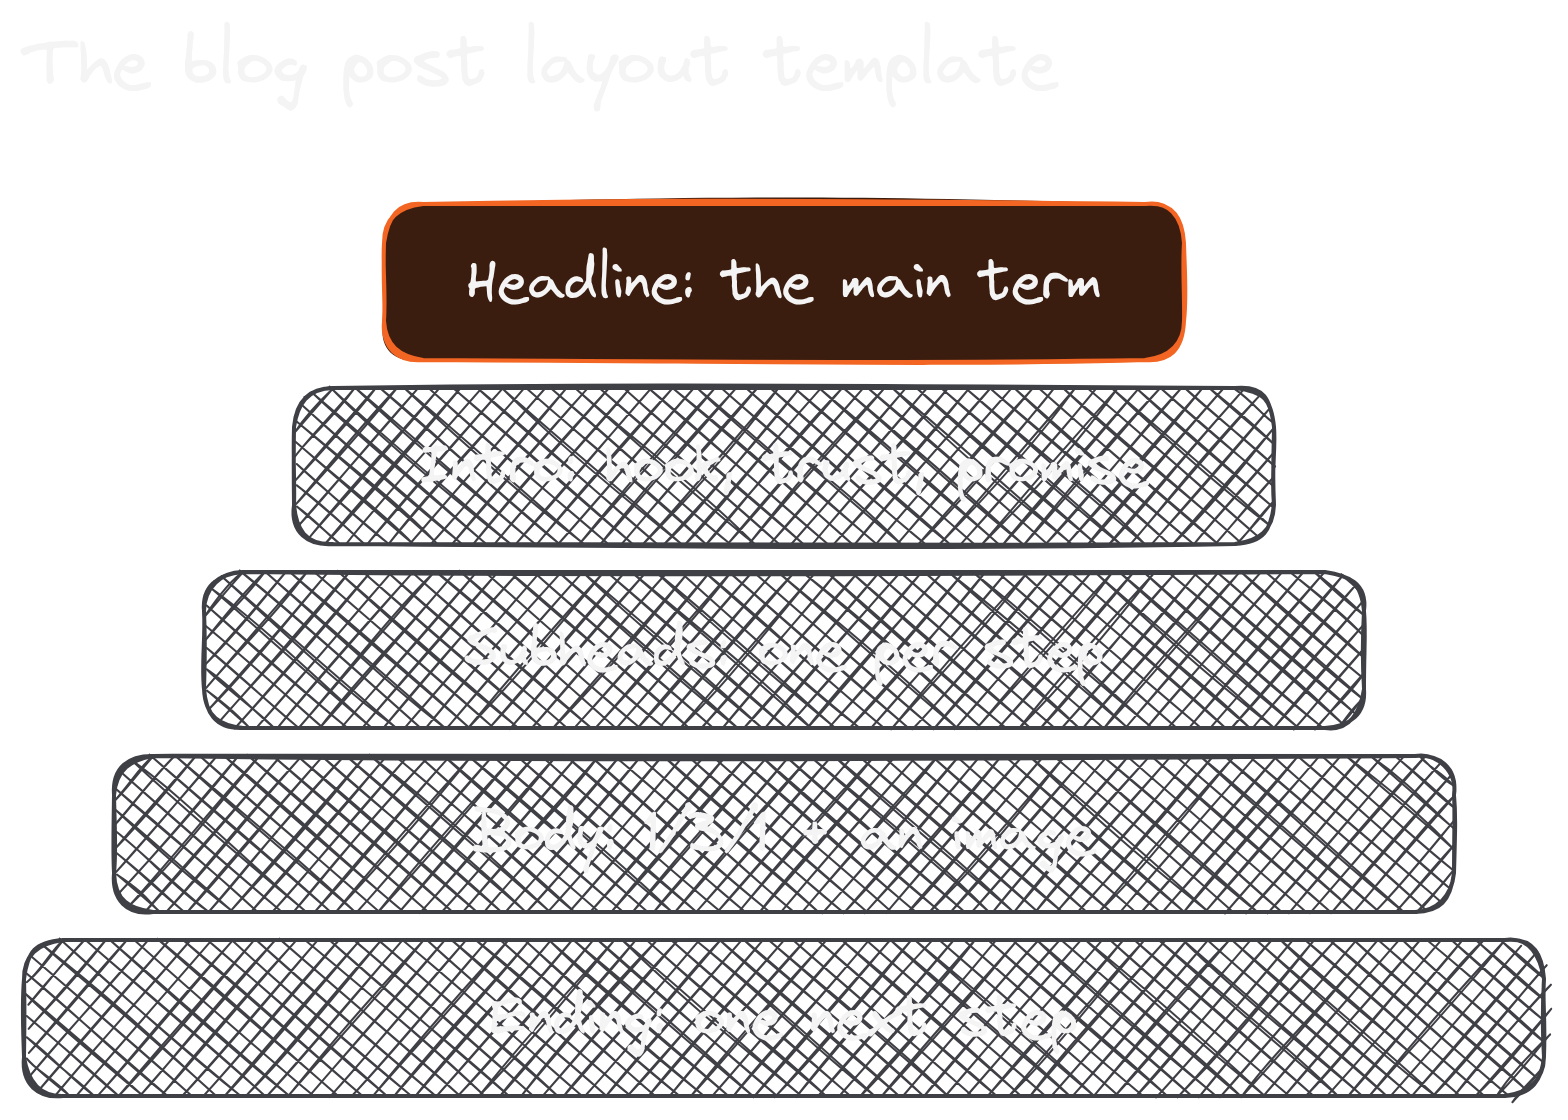
That's the blog post layout template.
FAQ
How many words should a blog post be?
As many as it takes to answer the reader's question. For a sense of scale, Orbit Media's 2026 blogger survey puts the average blog post at 1,312 words. A quick answer can be a few hundred words, and a guide aiming to rank for a big search term is usually much longer.
What is the ideal blog post length?
The ideal blog post length depends on the question. Look at the top results for your search term and match the depth they cover, then cut anything the reader doesn't need. Word count is a poor measure of value.
How long is a blog post on average?
About 1,312 words, according to Orbit Media's 2026 survey of bloggers.
How do you format a blog post?
Use a headline with your main term in it and a short intro. Write subheads that tell the whole story on their own, then short paragraphs in a 1/3/1 rhythm with a list and an image in each section. End with one line that sends the reader somewhere.
What is the best blog post template for beginners?
The how-to: "How To [Get Result] In [Number] Steps," with one subhead per step. It's the easiest to outline, because the headline tells you exactly how many sections to write.